
I'll confess, just immediately, that I have not used the DLC traits and thus have no idea what to suggest. But you'll do fine enough against about anything with the stuff here.
999 Quality
You gotta be comfortable with trait leveling, because this is very item specific. You’re going to need Quality++ and Quality+ both maxed out, as well as Best Quality. Your starting point should be something like..
- Traveler’s Water Orb.
- Traits
- Quality++ Lv.50
- Quality+ Lv.30
- Best Quality
- Traits
This item is useful because there is a short Supplement -> Zettel -> Traveler’s Water Orb loop, which you can then shuffle to a shorter Alchemy Fibers -> Natural Cloth loop. Just keep shuffling the traits between those steps and you’ll quickly hit 999. You’re also very likely to have the ingredients you need between those. If you don’t, make a Mirage Loupe or Loupe Compass with maxed effects and go gathering for a bit; you should pick up any higher tier traits you need.
To minimize lowering quality, you can use Item Rebuild to get trait slots, extra effects, and whatever. You can also do Blue Supplement -> Red Supplement via Add (Flower). Because Traveler’s Water Orb is, well, Water, it easily spreads to the Supplements once it hits 999.
To get good raw materials, you’re gonna need Seeds, which give materials from 50 to 100% of the Seed’s quality (traits not carried over, unlike Rorona). So once you have yourself a full set of Supplements, Zettel, and Water Orb, you can get spreading out from there. First stop, Alchemy Fibers -> Natural Cloth -> Plant Seed, and you’ll definitely want tons of Honey for all of the Seeds; it’s extremely useful.
Mystic Seeds are ready in two days; the rest in one. Happy harvesting. You’ll get crazy good materials from this, including stuff you wouldn’t expect, promise. Once you’ve replaced your old crap with this good stuff, you’re ready to take on any synthesis project.
Build Help
The general process to creating equipment is this:
- Create tons and tons and tons of every ingot and cloth (even the weird ones like Master Leather -- make bait for that), duplicate like crazy, have max effects
- Each ingot/cloth grants a stat boost, which adds up to quite a lot by the time you're done
- Some cloths count toward other categories, such as Eldrocode being a (Jewel), so you'll use that when it comes up
- Have a wide variety of spread materials (Philosopher's Stone, etc.) available to help skip material loops that don't grant stats
- Start at the lowest item you can in a recipe morph chain and work your way to the highest using all your high level mats
- Do not bother filling out effects on lower tier items, just the top item. You will probably get all the role stuff you need using spread items.
- Having 999 everywhere helps a lot
- Rebuild after you've jammed in as many materials as possible to get your effects.
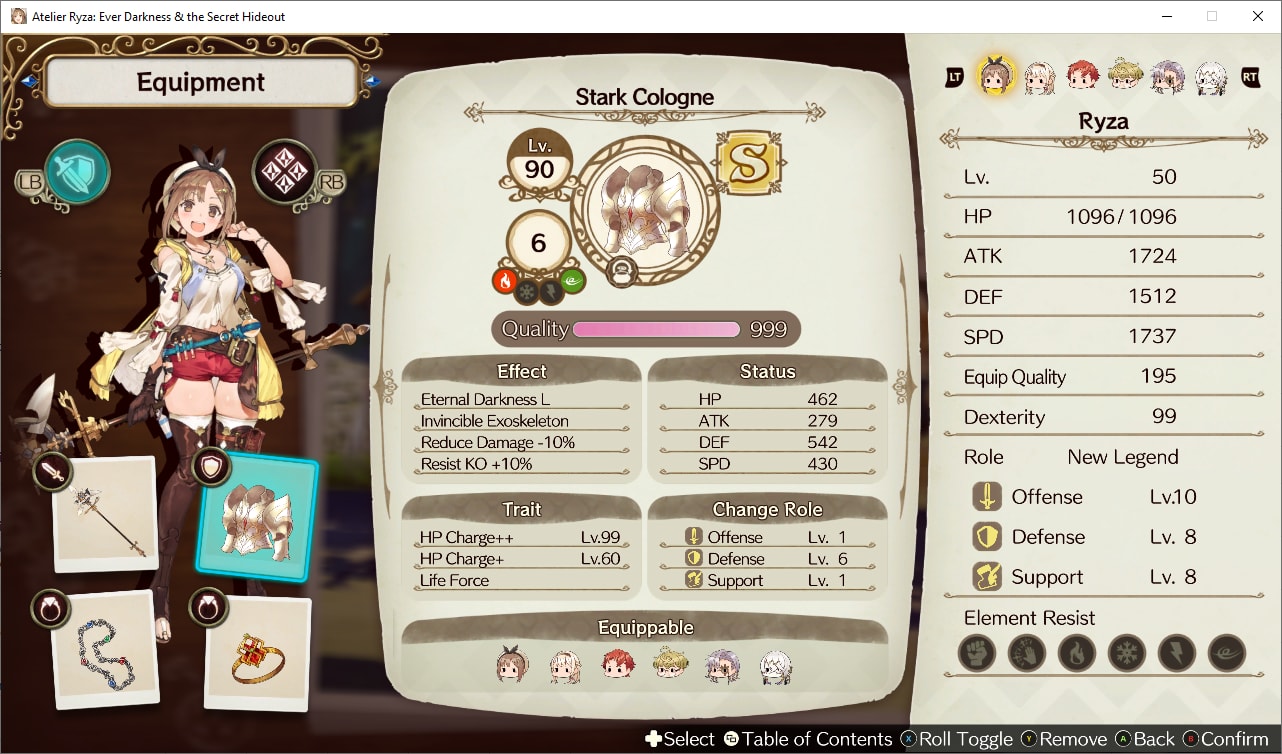
An example of what good results look like. Note that Ryza is in the New Legend role due to the item bonus it grants; Braver is better for combat purposes. Roles max out at 10, but you may have to go slightly out of your way to grab a full 10 of each required for Braver.
With that out of the way, here are some builds you can aim for. I’d recommend putting every item you’re working with in your favorites tab, so you can see what you need easily.
Weapon
- Traits
- Skill Charge++
- Skill Charge+
- Super Skill
- Forge Effects
- Devil’s Pact L (Hellish Power on Miracle Ebonyal, for crit rate and crit damage)
- Creation Strike (Continental Crusher on Genesis Hammer, for additional damage and damage at tactics 5)
- Comforting Timbre XL (Glorious Melody on Energianica, for extra AP gain)
- Quality does influence stats here, so max ‘em out for full impact (or don’t if you’re a lazy butt like me)
Armor
- Traits
- HP Charge++
- HP Charge+
- Life Force
- Recipe Chain
- Leather Protector > Border Scale > Radiant Plate > Frost Armor > Golden Mail > Fortress Armor > Stark Cologne
- This item has multiple paths to the endpoint, but this one is the longest and thus the one you should use. No other armor compares for this reason; it simply has more predecessors than everything else.
Accessories
- Traits
- Brewing Authority (From Golden Crown, for stat increase and AP)
- Speed Charge++
- Speed Charge+
- Recipe Chains
- Polish Powder > Pearl Crystal > Amberlite > Spirinite > Saint's Diamond > Arc en Ciel > Elixir Ring
- Polish Powder > Pearl Crystal > Amberlite > Spirinite > Saint's Diamond > Fairystone Chain
- Simply put, these two accessories have the longest chains, and thus the most stats. Other accessories may have more interesting effects, but I don’t view them as worthwhile over just going for the raw stats you can get here.
Items
- Attack
- Destructive++
- Few Bonus++
- Few Bonus+
- Astronomical Clock
- Area Bonus++
- Dripping Dew (recover HP and reduce WT, from Fragrant Honey Tree)
- Overflowing Courage (increase crit rate and reduce WT, from Heroic Spirit)
- The only item I actually used. Instant 2 to the tactics level? Sign me up. Do I know if the traits work that well? Not at all, but it was fun to make. Copy the traits below if you think this is dubious.
- Healing? Elixir. Area Bonus++, Area Bonus+, Healing++? Sure, that works.